It’s time to take your photo backdrop game to the next level. We’ve seen them before and all wondered but how in the world does Pinterest do it?! A balloon garland is easier than you think with our Balloon DIY Kit, included in every Basic Bach Box and in the Boomerang Mini Box. Don’t let the ‘wow’ factor deter you from giving this garland a go.
Here are four easy steps to creating your own balloon backdrop:
Time: 30-45 minutes
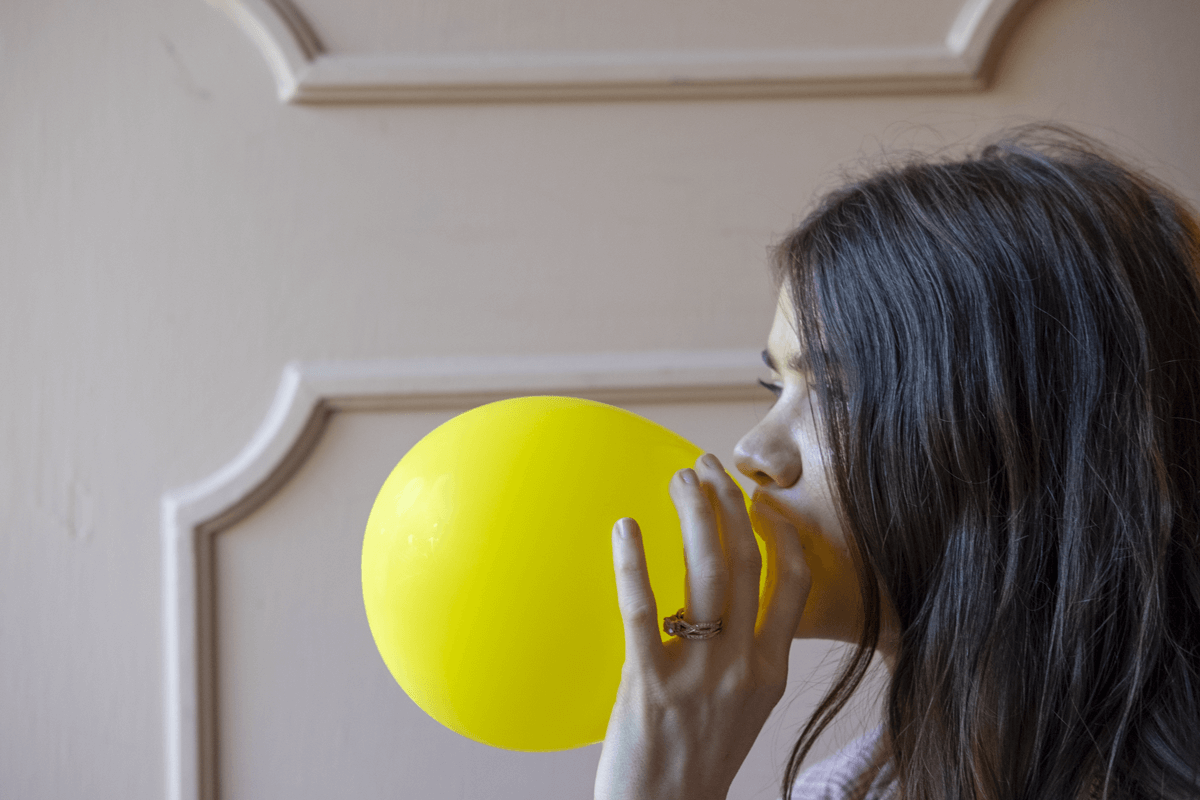
1. Blow Em – You guessed it, balloons need blown up. Be sure to vary the sizes to create some depth and interest.
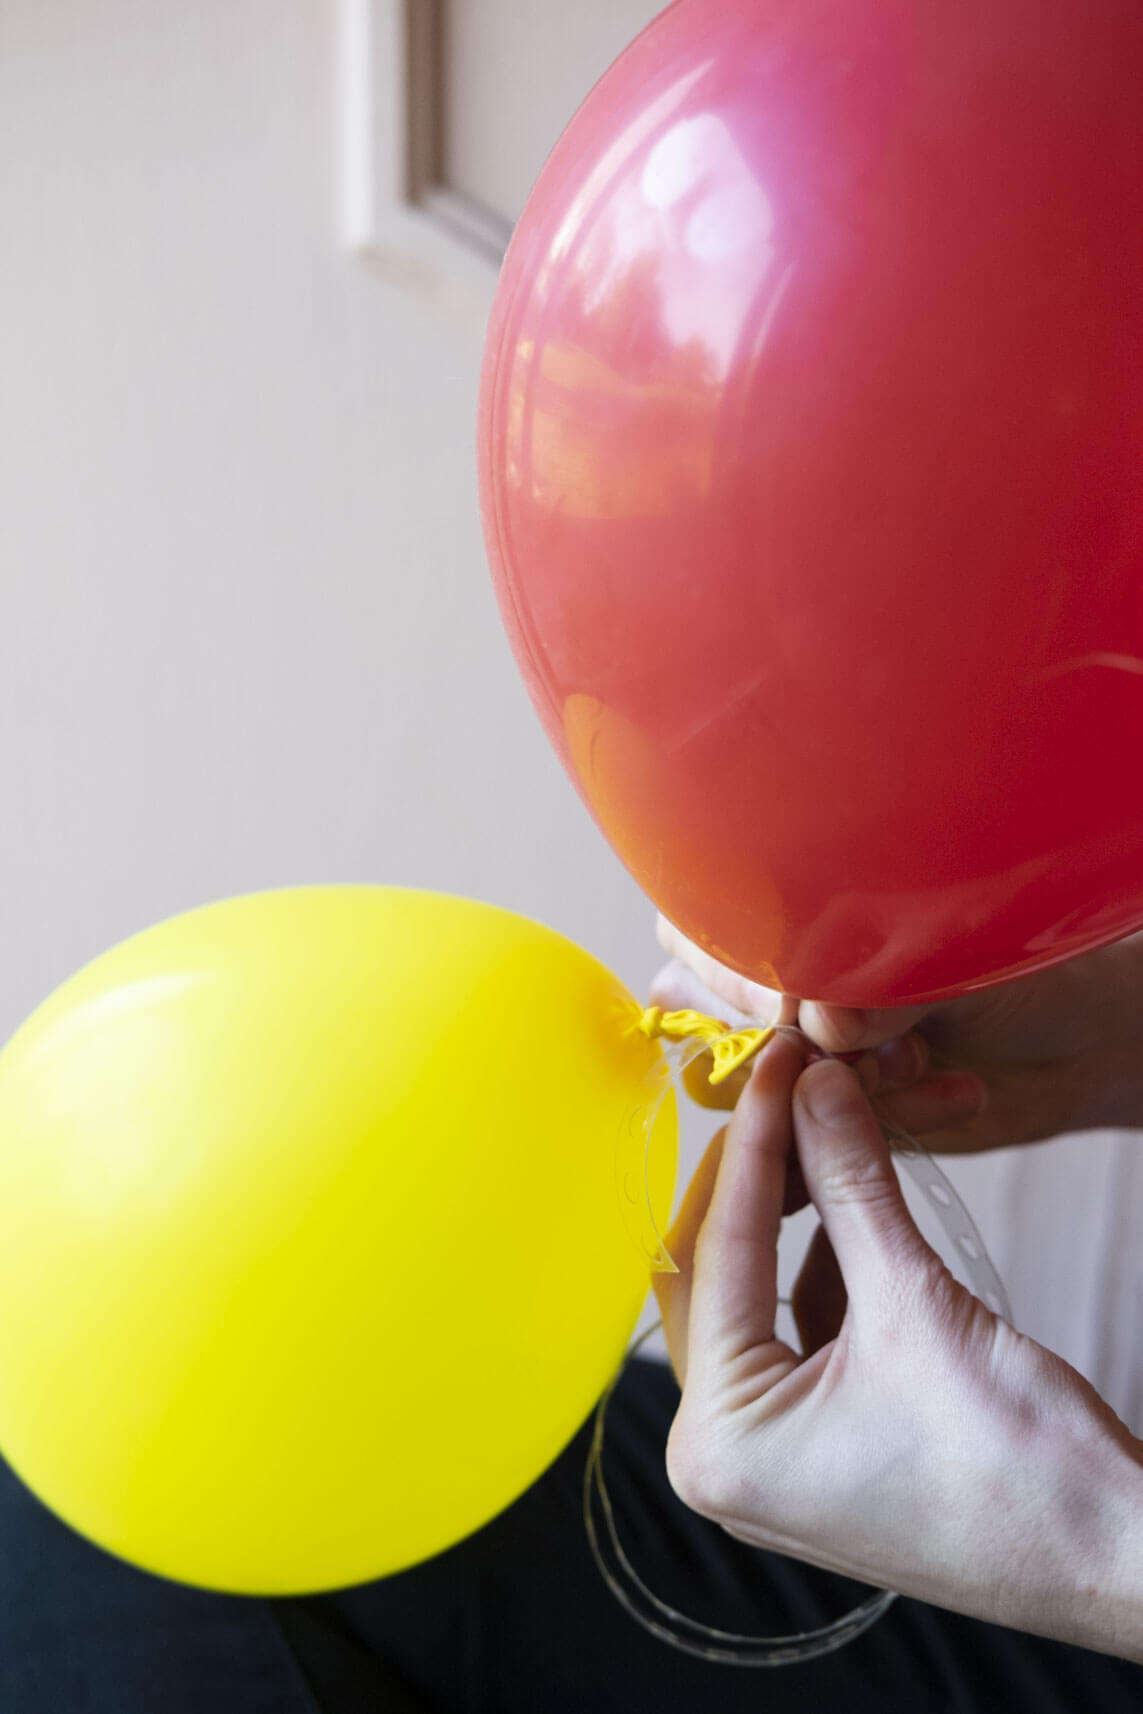
2. Attach to Balloon Tape – Pull the ends of the balloon into the circles along the balloon tape, no need to pull the knot through just enough to secure them to the tape. Alternate the sizes and colors to help fill in the gaps.

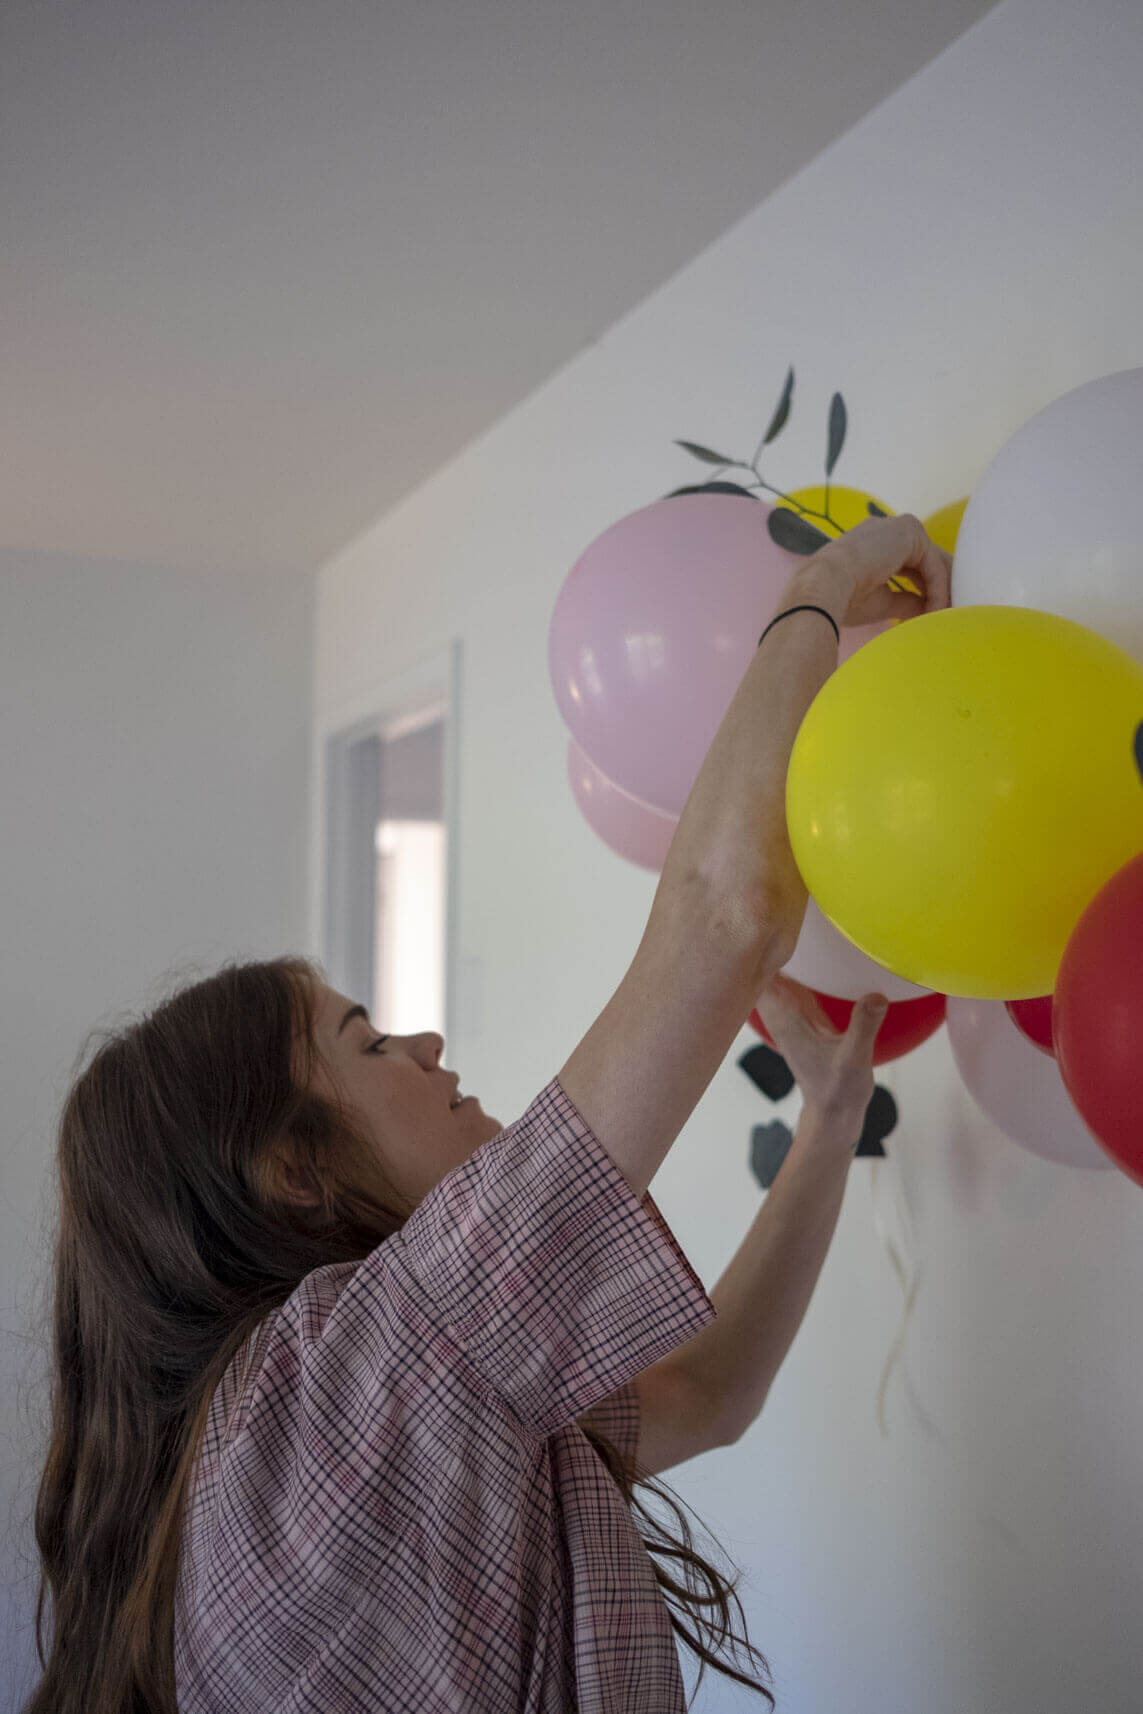
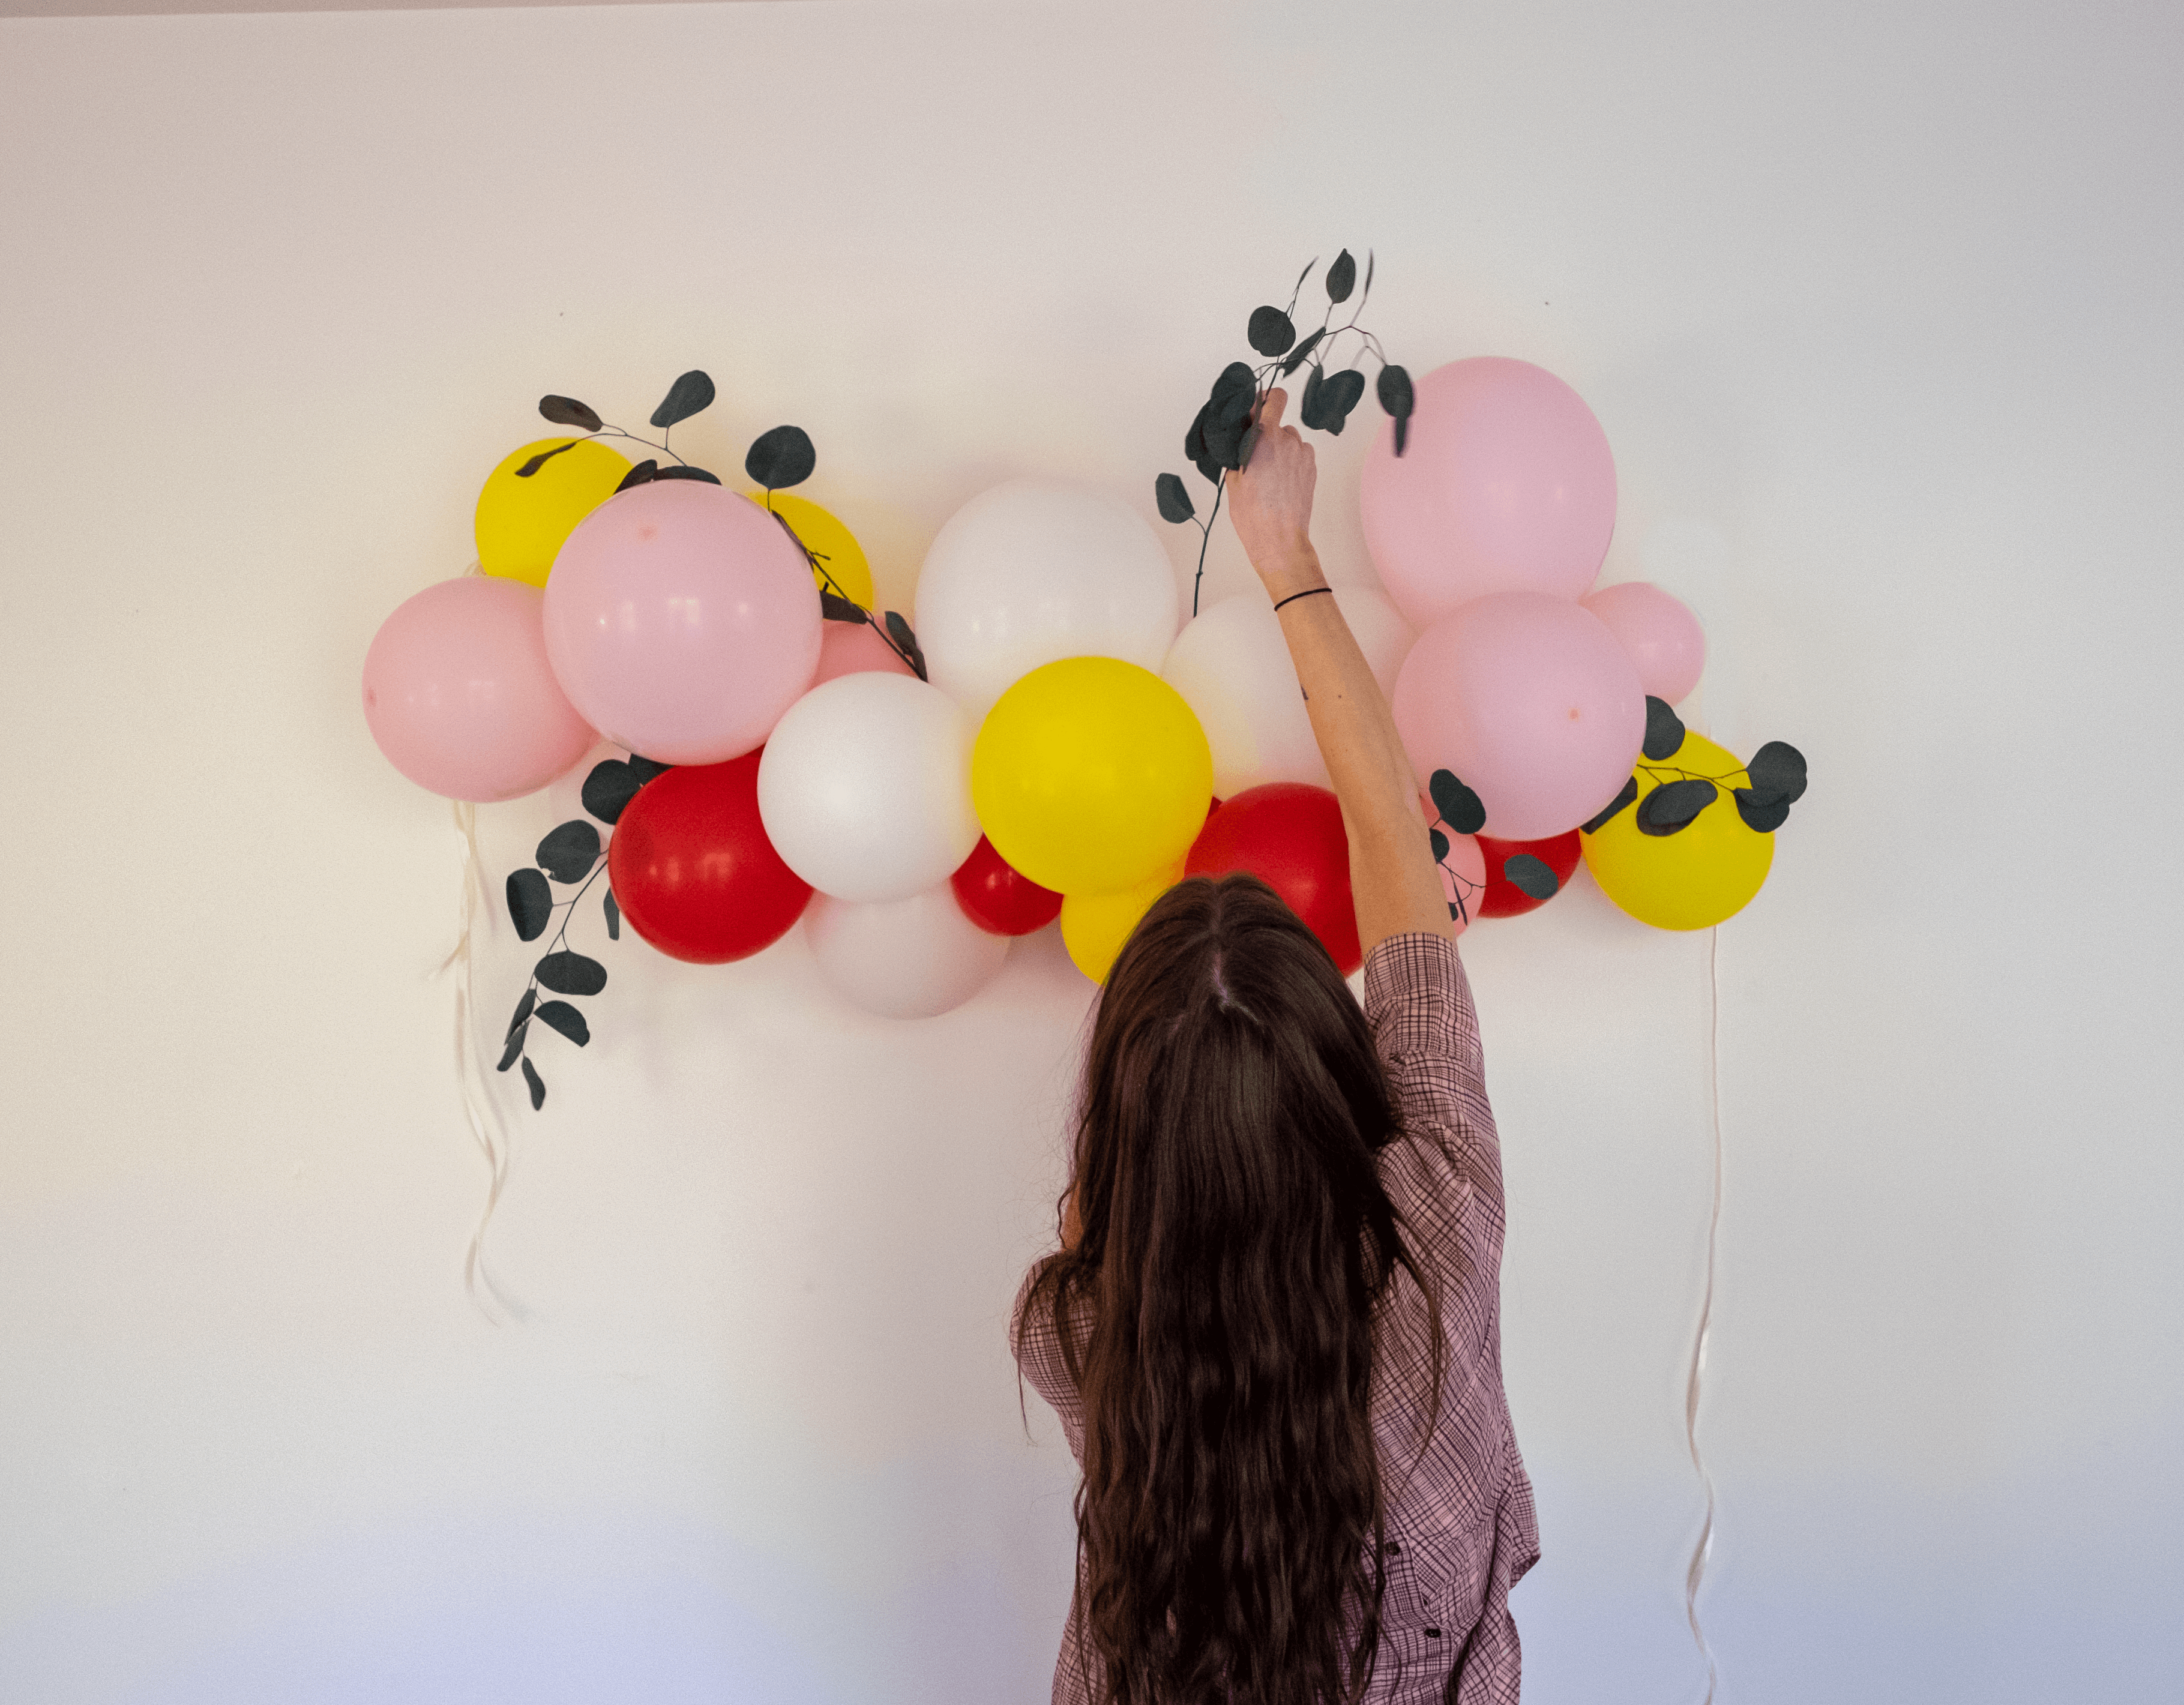
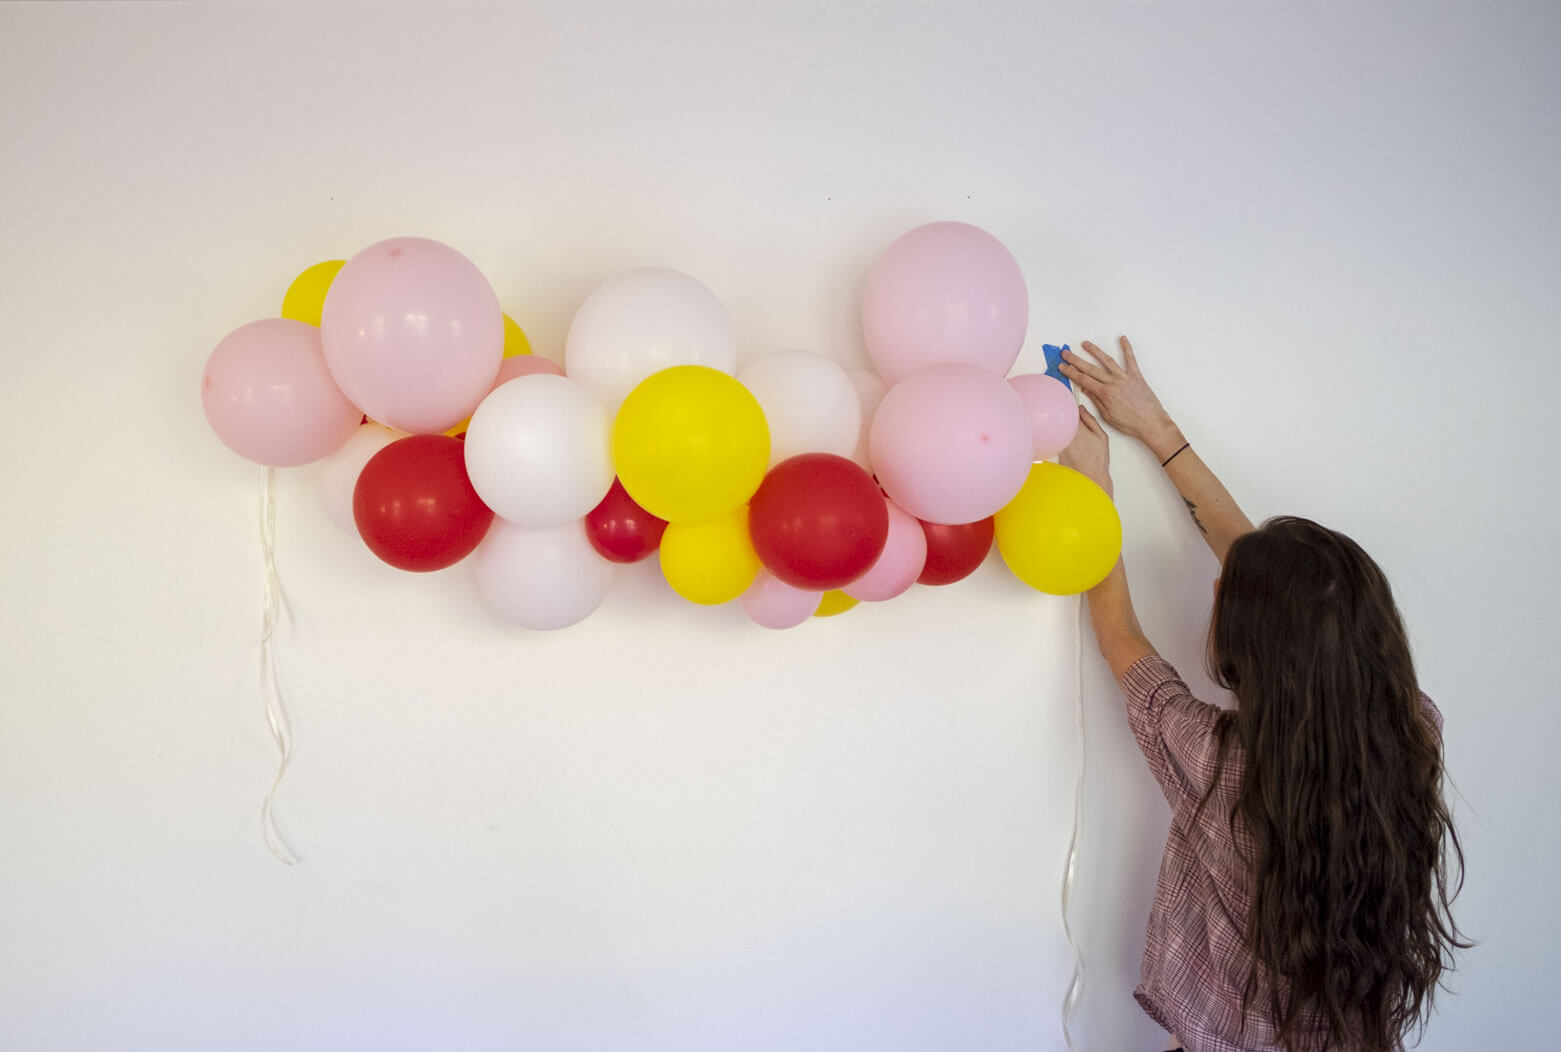
3. Secure the Garland – Hang that B wherever you’d like, just make sure the lighting is perf! Painters tape, Command hooks or string work great to tie this bad boy up.

4. Add in the Sass – Paper flowers, greenery or sparkly tassels are great additions to jazz up the garland and make it unique for your Main Bach once you’ve got it in place.